API Tokens
API Tokens
API tokens allow third-party services to authenticate with our application on your behalf.
1. Go to API Tokens in Integration page.
2. Add a Name for your Key.
Make it specific, depending on where you want to use it. Currently, our API Token can be used to create your Zapier integrations.
3. Copy your Key to use it to integrate with Zapier.
CRM - Affinity
CRM - Affinity
If you use Affinity as your CRM, you can integrate it with Landscape to make your workflow seamless! Simply saving an item in Landscape will add it to your list of choice in Affinity. Follow the steps below to set it up.
1. Create your Affinity API key
Instructions here: How to obtain your Affinity API key
2. Log into your Landscape account
Please note that all team members with a Landscape account will need to set this up individually.
3. Access your Integrations by clicking on Operations in the navigation bar at the top of the page
4. Click on CRM
5. Enter your Affinity API Key and click add
6. Select your default list
This is the list in Affinity where any signals you save will be added.
7. Customise for different signal types depending on your needs
We recommend having a list in Affinity for company leads (a company-focused list) and another for stealth leads (a people-focused list) as shown below but you can customise as much as you would like to match your workflow.
8. Save and head over to Sourcing to test your integration
9. Save a company in your signals. Then check your relevant Affinity list and there should be a new entry for the item you saved!
If you have any issues or feedback on setting this up please reach out to [email protected].
Zapier
Zapier
If you use any CRM other than Affinity we recommend using Zapier to set up an integration to push liked Signals to CRM. The setup will vary depending on your exact CRM capabilities but you can follow this guide for the basic steps.
Part 1: Setting up to create a custom integration
Create a Zapier account with your work email.
Access your Integrations by clicking on Operations in the navigation bar at the top of the page.
Click Zapier.
Click Connect to Zapier.
Part 2: Creating a custom integration
Follow the steps below to set up your Zap.
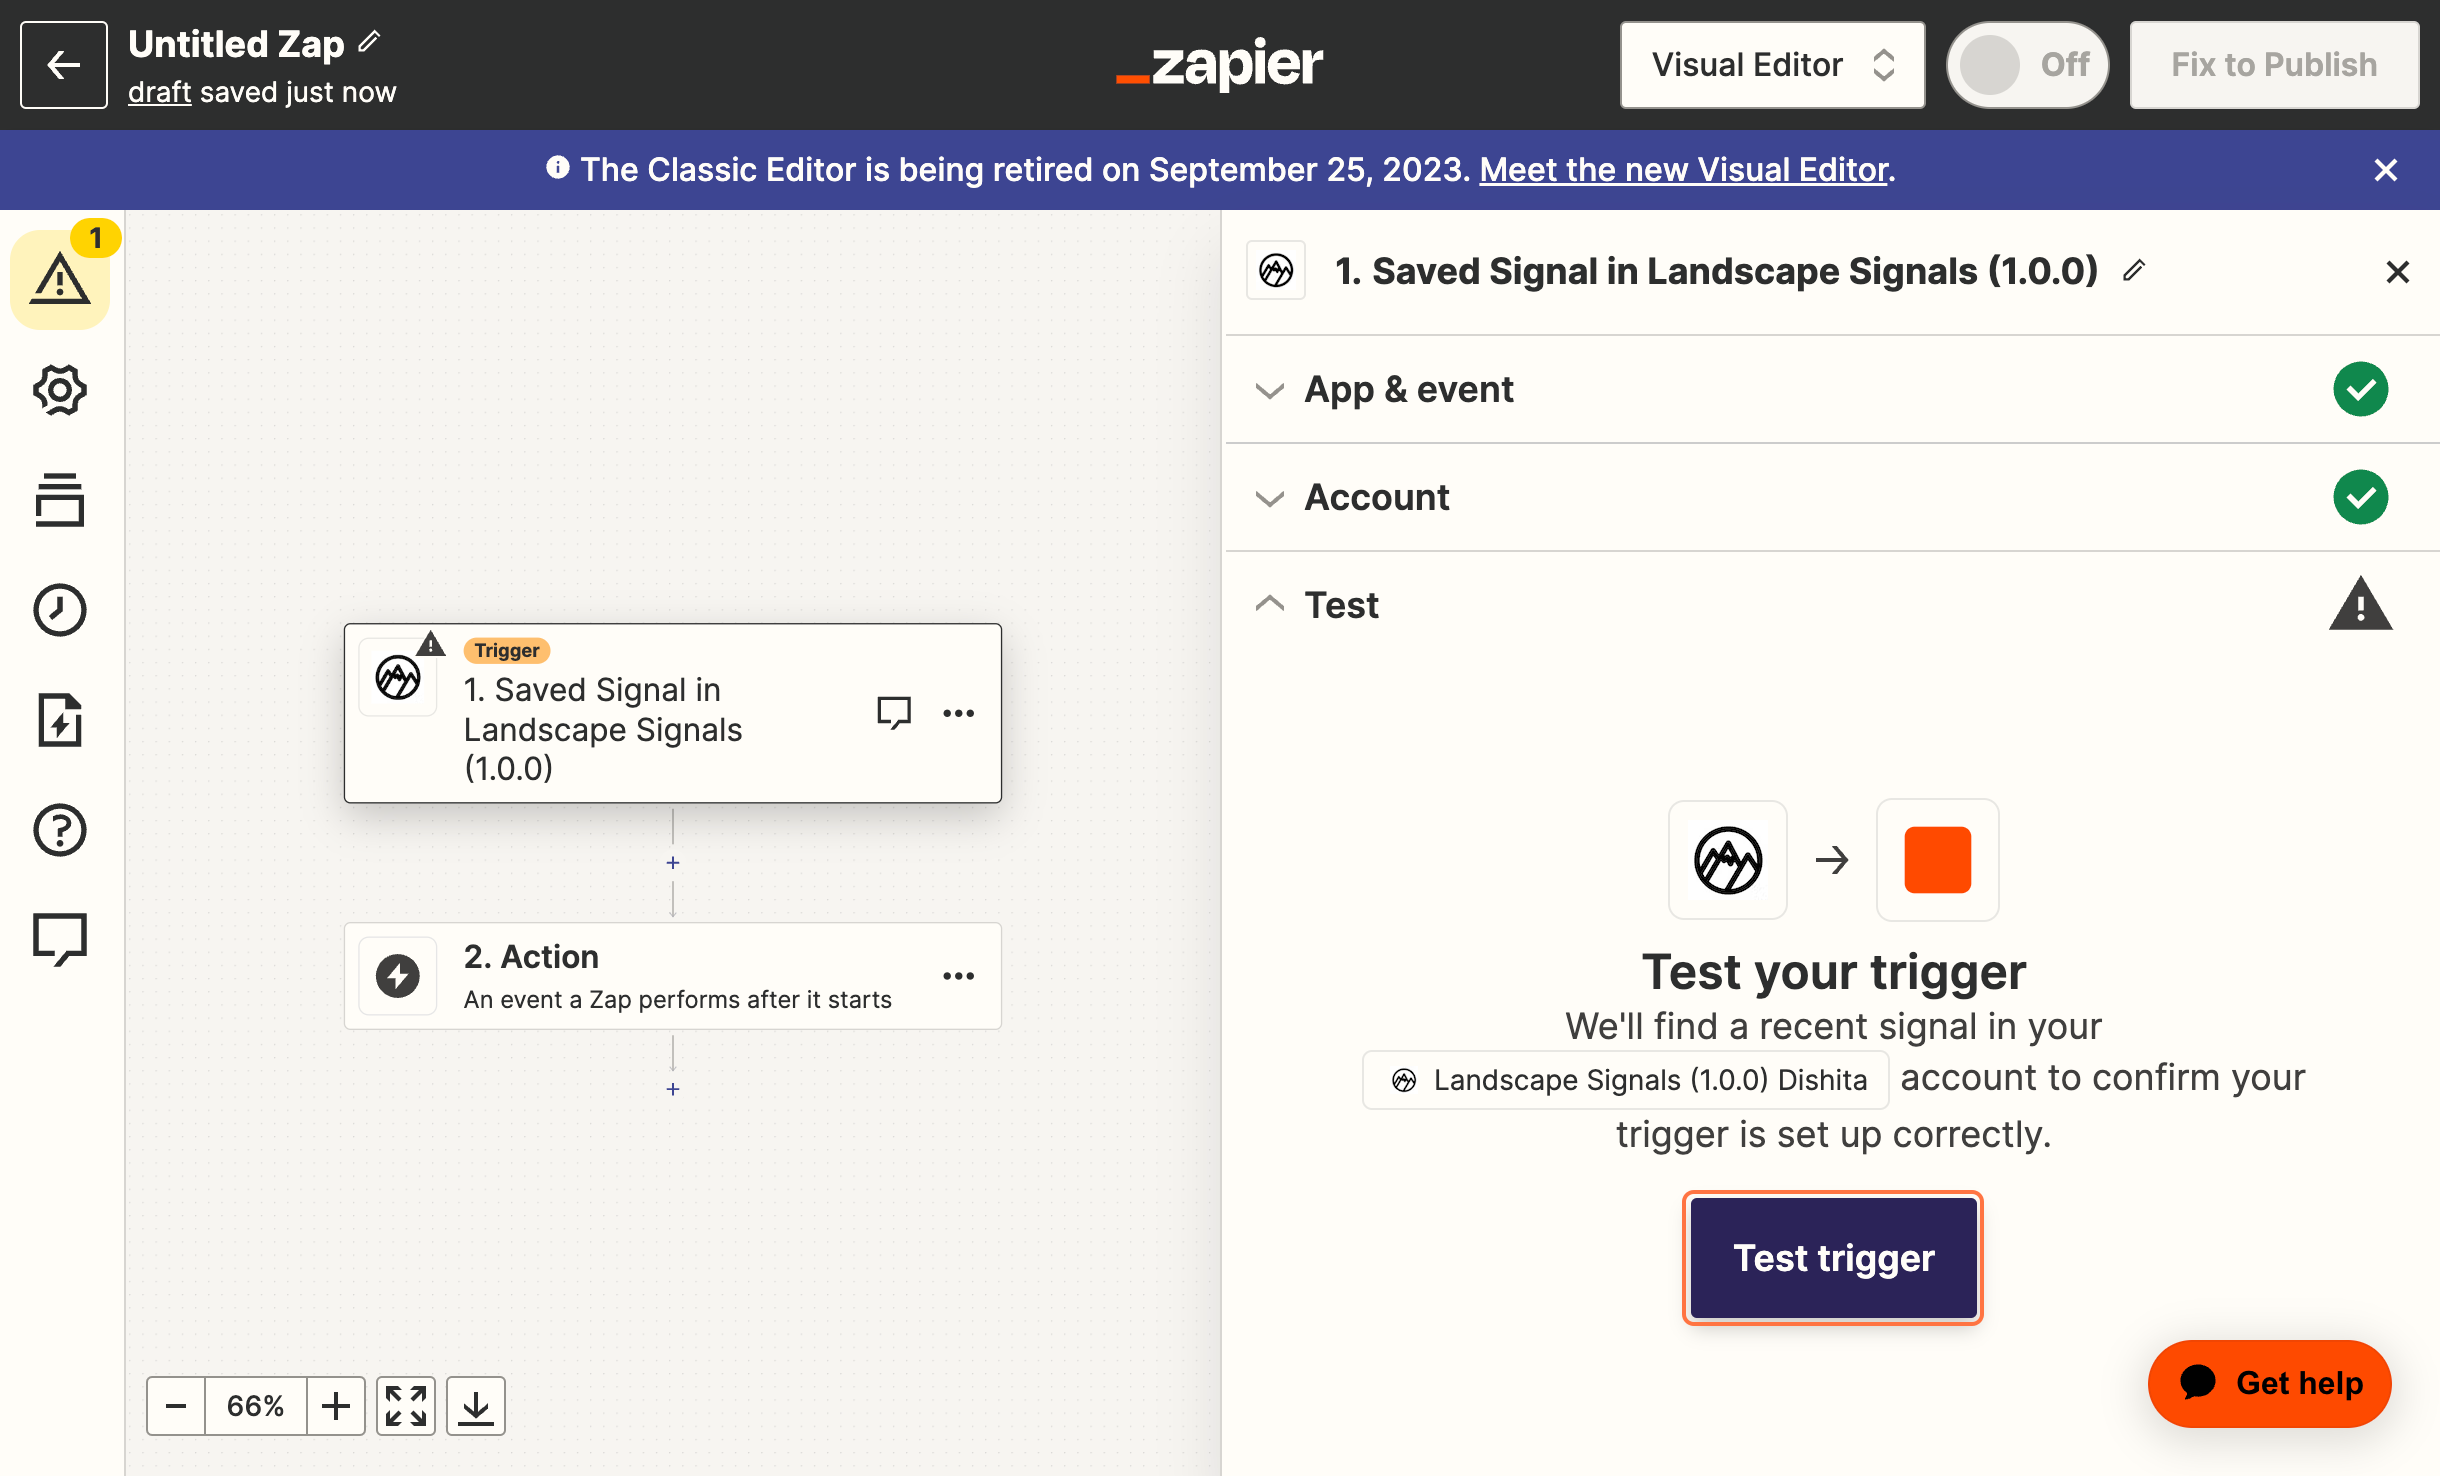
Click on Create Zap
Click on Trigger
Type "signals"
Click on Landscape Signals. This is where you have to add the API Token you previously save
Click on Event
Choose Saved Signal
Click on Continue and then choose your account
Click on Test trigger
You should have a selection of records pulled by Zapier
Click on Continue with selected record
The next step will focus on the action that occurs and will be customised to your CRM. For example if you use Airtable search for it and select Airtable
The event will be customised to the way your CRM is set up
The goal is to create a new record when a lead is saved in Signals. For Airtable this is 'Create Record'
The following steps should allow you to map over fields such as 'Linkedin' and 'Description' but will depend on your CRM capabilities. If you need extra support feel free to reach out!
Webhooks
Webhooks
We've included webhook functionality to provide even more ways for you to get interesting companies and individuals out of Compass and in to systems of your own.
Add a new webhook
Access your Integrations by clicking on Operations in the navigation bar at the top of the page.
Click on Webhooks.
If a member of your team has already configured the relevant webhook, you can select a previously created one from the drop-down.
To create a brand new webhook, simply enter a label for it and the URL endpoint it should post to.
Once a webhook has been created, you will be able to customise what fields are sent as well as the post keys each field uses. You may also add a “Custom” field with a custom value.
Every time a user saves a signal all enabled webhooks on their account will be triggered.
A POST request will be sent to the endpoint with a JSON payload.
Sharing a webhook with your team
Once a webhook is created you may enable the option “Share with Team”, allowing other users to use your webhook as a template on their account.
When a user selects to use your template, it will be copied over to their account.
Any changes the team member makes to the webhook will not impact the original webhook.
If you run into challenges, don't hesitate to reach out to [email protected].
LinkedIn


